
Nullam dignissim, ante scelerisque est euismod fermentum odio Sem semper l'est erat, un feugiat leo urna eget eros. Duis Énéenun imperdiet risos.
Nullam dignissim, ante scelerisque est euismod fermentum odio Sem semper l'est erat, un feugiat leo urna eget eros. Duis Énéenun imperdiet risos.
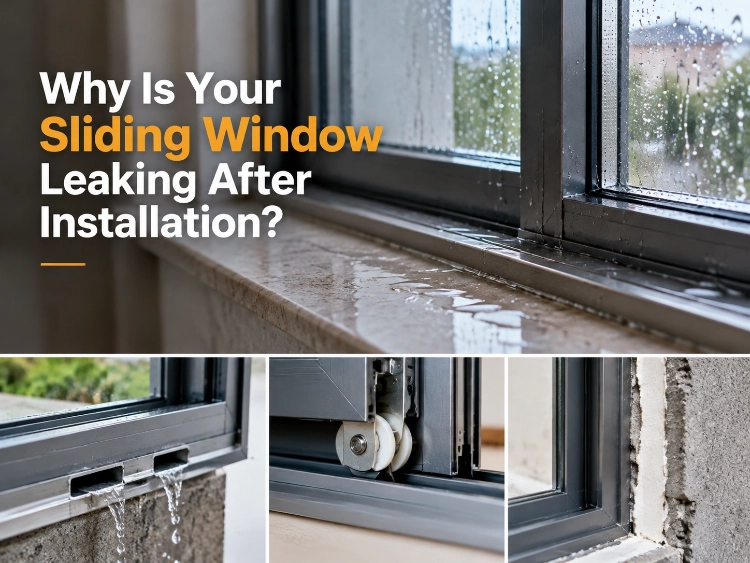
When someone says a sliding window is leaking into the room, start with one simple question: where did the water first cross the inside edge? A wet outside track by itself doesn’t prove the window failed—plenty of systems are designed to collect rain and drain it back out. Check that drainage path, the sash alignment, and the frame-to-wall joint separately. That usually shows whether the problem is the window or water coming through the wall.
The supplier looks at an open drain hole. The installer sees a wet sill. Someone on the interior side reaches for sealant. I’d stop right there. Take photos and mark the first wet spot before anyone changes anything. A quick dab of sealant can hide the real route or block an outlet that needs to stay open.
Use the checks below to compare the opening against its approved section drawing. Note who will handle the repair and what was actually fixed. On jobs with repeated windows, that record gives the next inspection a clear place to start.
Before wiping the track or scraping sealant, write down the opening number, the weather, and the exact first wet spot. Photograph both sides with the sash locked. Once the area is cleaned, that first clue is usually gone for good.
Water sitting in the track and water on the room side are two different things. Find the chamber that is meant to carry rain out—the manufacturer’s section drawing shows which groove does that job. Channels that look the same can have completely different functions.
Drainage holes at the bottom of the frame let rainwater leave. The sill water stop is the raised outer detail that helps keep rain from coming in. They do different jobs. Check both after the trim and sill finishes are in place, and note if later work has covered either one.
Look above and beside the wet mark. Water often travels behind a reveal or finish before it shows up at the sill. By the time everything is soaked, a photo tells you less. Catch the first sign if you can.
Was it wind-driven rain, ordinary rain, or recent cleaning? Was the sash shut? Those answers help decide the next check. They don’t replace a proper water-penetration test, but they’re a better start than simply saying “the window leaks.”
Drainage paths differ between profiles, so use the section drawing for the actual system that was installed, not a diagram from another series. The Yuxinyuntong sliding window range lists the available profiles and their section details.
After construction, a sliding window that leaks indoors often just has a blocked outlet. Check the visible drainage path before adjusting hardware or ordering a new sash.
Follow the lower track all the way to the outlets. Look for building dust, leftover sealant, protective film, or finishing material. Check whether exterior trim or a new bead has covered the discharge point. Wiping the groove won’t help if water still can’t leave.
Don’t drill new holes or close existing ones without approval from the supplier and the project designer. Hidden chambers can sit behind the frame; drilling can damage them or change the planned water route.
Perimeter sealant fills the frame-to-wall joint to limit seepage. Polyurethane foam may fill the same general gap, but it’s there for insulation and fixing, not as the exposed weather seal. Identify the material and check the approved detail before specifying any repair.
Where the supplier allows it, an installer can test drainage with an approved method. Record where water entered, where it came out, and whether any stayed inside. Don’t force water into joints with a high-pressure hose—that doesn’t prove performance.
Look at similar windows next to newly finished reveals. If only those openings show water, compare the first wet point, the outlets, and the nearby finishing before ordering replacement sashes. Trim covering an outlet gives the installer somewhere to look. It’s a clue, not proof.
An open drain doesn’t settle every leak report. The sash also has to close the way it was designed. If it sits unevenly, gaps and contact points change and water can enter the track more easily.
Slide the sash and note any sticking. Close it: does it meet the frame evenly and lock without force? Compare the side gaps and the meeting rail. A lock that catches is worth noting, but it doesn’t by itself prove the sash is out of alignment.
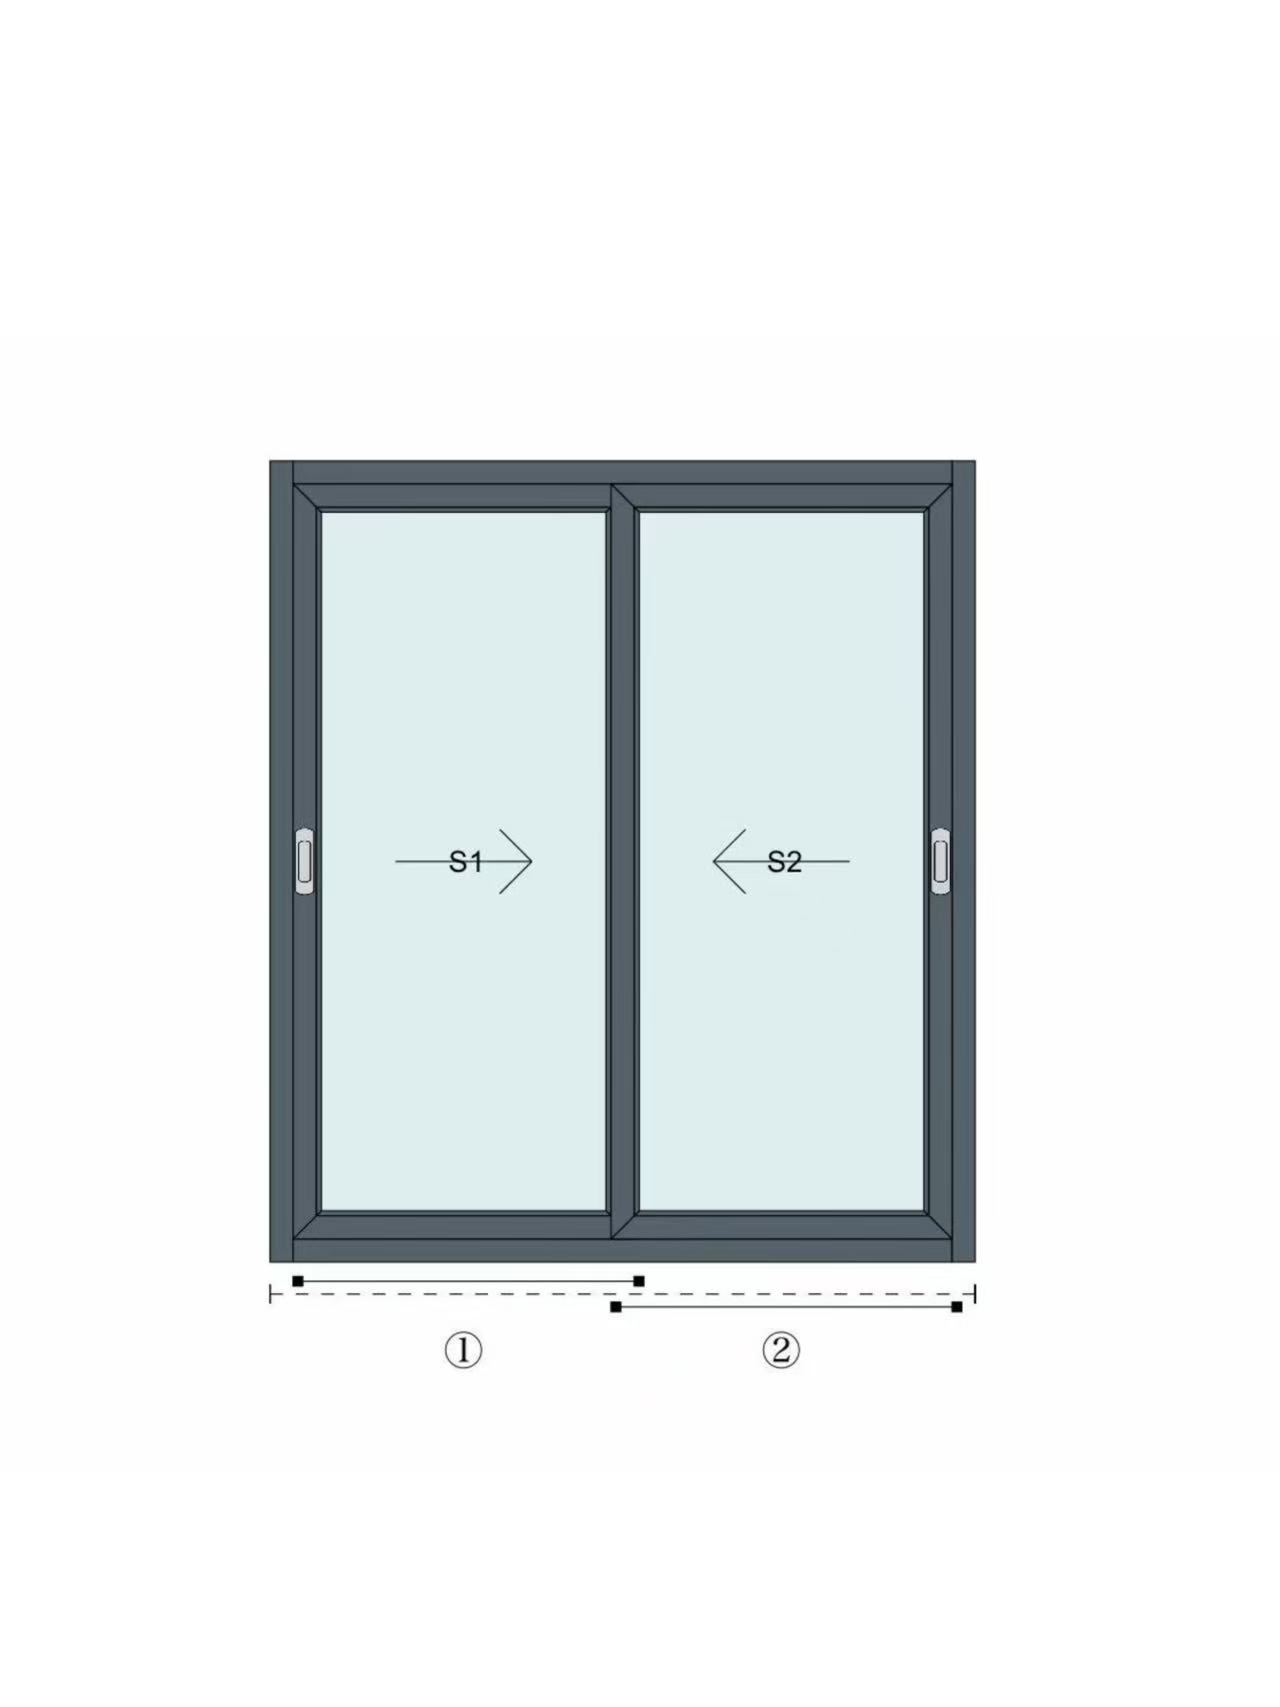
Sliding rollers carry the sash along the rails. They may be nylon or stainless steel, often with bearings for smooth movement. Check them together with the interlocks, locking hardware and seals while the sash is closed. A sash that moves freely is not automatically adjusted correctly—the parts have to work together at full closure.

Adjusting the sash won’t fix every installation problem. Check the frame’s level, squareness and support against the approved detail. If fixing or finishing pulled the frame out of shape, hardware adjustments may only move the symptom around.
Make proper handling arrangements before taking out a heavy sash. Record its position first. The installer can adjust within the system’s limits and then compare the result with the original condition.
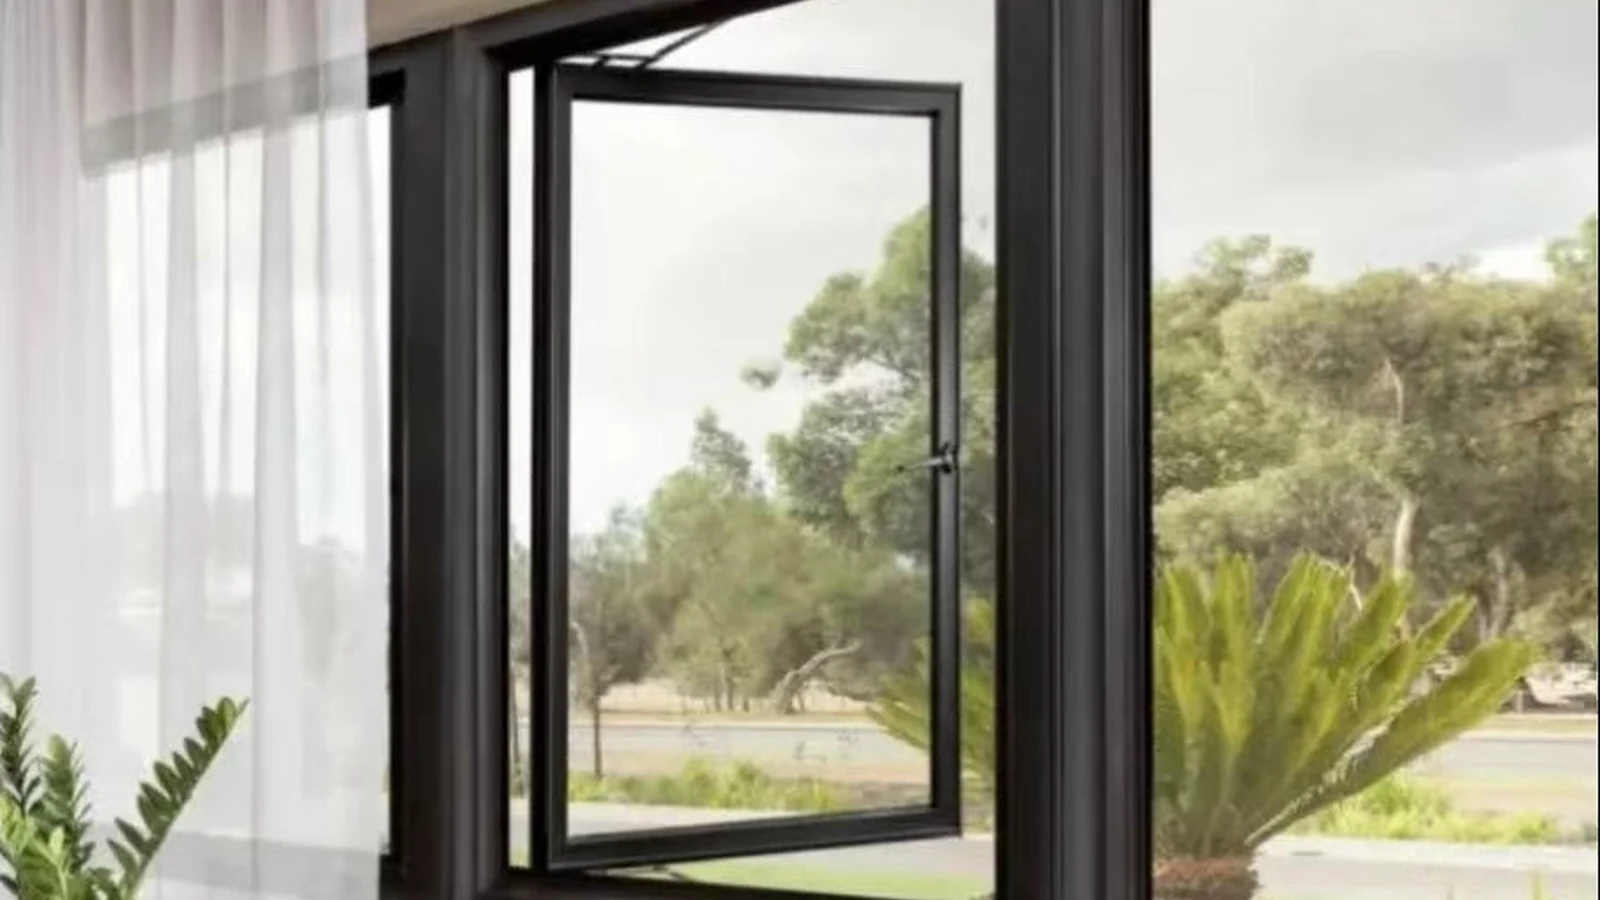
Confirm the opening type before applying any adjustment advice: sliding and casement windows close differently. The window system collection covers both, and the fenêtre casement page shows the closure detail for that style.
If the track drains properly and the sash closes as required, look at the connection between the frame and the surrounding construction. Follow the likely path back from the wet area. Fix where the water is getting in, not just where it shows up indoors.
Check the head, jambs and sill separately. Look for broken sealant, movement cracks, gaps at transitions, or drainage routes that later work has interrupted. Compare the installed materials and shapes with the approved drawing and note any changes.
The side jamb joins the frame to the wall; casing may hide the joint. Don’t pull it off on a guess. Follow the agreed inspection method, then decide where the perimeter sealant needs repair.
Keep a short record for each opening from the first complaint through the final check:
Yuxinyuntong supplies doors, windows, curtain walls and related building materials. The company also offers pre-sales consultation and after-sales maintenance support. For an installation enquiry, share the profile, sliding rollers, locking hardware and wall detail. That gives the technical team something concrete to discuss.
For repeated openings, inspect a representative selection after one repair. Don’t assume fixing one window clears the whole elevation. If reports cluster on one side of the building or around one installation crew, record that pattern—it helps decide where to look next.
For an installation and drainage enquiry, include the opening schedule, section drawings and photos that show where water first appeared. You can send it through Yuxinyuntong’s contact page so the technical team can talk about the specific opening rather than a general request for a “waterproof window.”
Q1: Does water in a sliding window track always mean a leak?
A1: No. Some track sections are meant to carry water out. Check the system section and follow the route. If water leaves outside without crossing the room-side boundary, track water alone is not an indoor leak.
Q2: Should we seal the drainage holes to stop rain entering?
A2: No. Closing the designed outlets can trap water inside. Ask the supplier to confirm the route and recommend a correction. Keep the drainage holes open unless the approved system detail says otherwise.
Q3: Can a site hose check prove the window’s rated performance?
A3: No. An informal hose test may help locate a route, but it does not establish a tested rating. An acceptance test needs an agreed procedure, conditions and evaluation criteria. Follow the project requirement and the supplier’s guidance.










Laisser un commentaire